
Euro 6-in-1 Tutorial
Small Bracelet
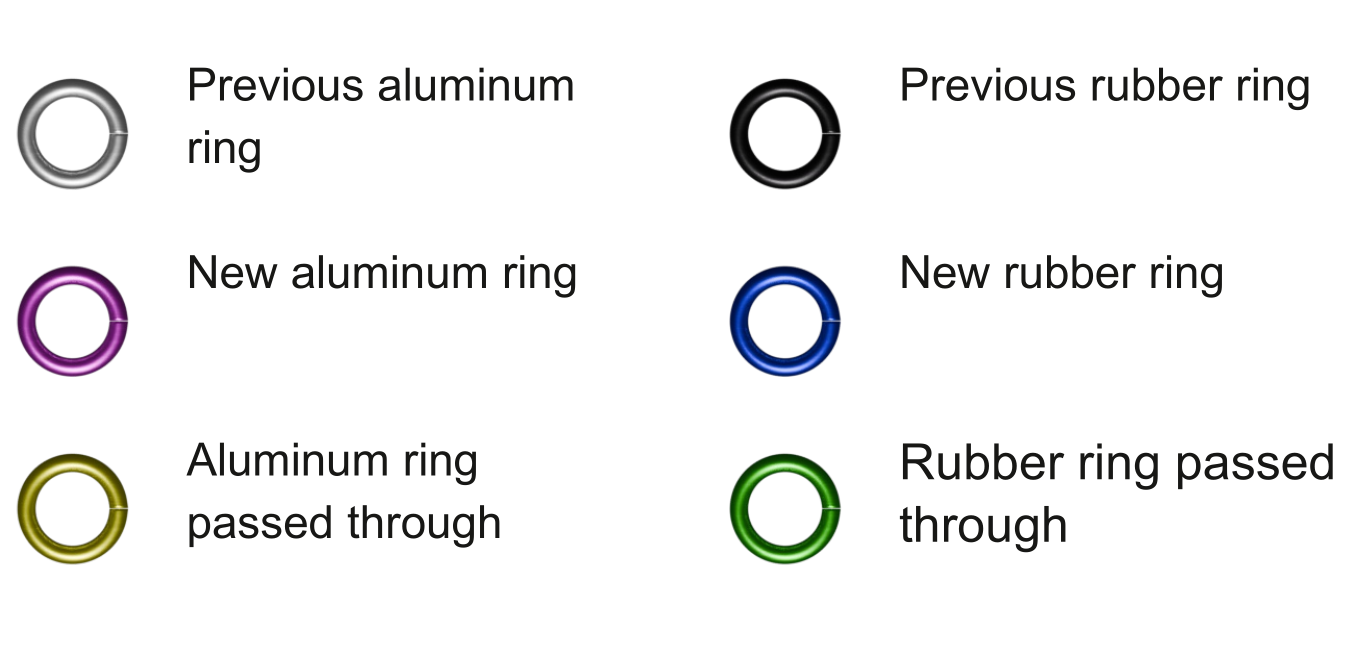
Image Glossary
Colors used in the instructions and not necessarily the colors in your kit.
Your kit should have 2 bags of aluminum rings (60 rings each) and 1 bag of rubber rings (60 rings)

Step 1
Add 3 rubber rings to an aluminum ring and close it. Arrange as shown.
Yes, this is a Euro 6-in-1 pattern, but the edge rings (the aluminum) will only go through 3 rings each, the rubber rings will have 6 rings through each of them though.

Step 2
Pass an aluminum ring through the same 3 rubber rings and arrange as shown.
Keep one aluminum ring on each side of the rubber rings.
Ensure that the rubber rings lie on top of each other all in the same direction, they will want to flip around on you in the beginning.

Step 3
Place a rubber ring on an aluminum ring and pass it through the last 2 rubber rings.
The new aluminum ring (in magenta) should pass through a total of 3 rubber rings; 1 new ring (in blue) and 2 previous rings (in green). Close the ring and arrange as shown.

Step 4
Pass an aluminum ring through the same 3 rubber rings shown in green.
Continue to keep an eye on the orientation of your rings. It will take about 6 rows before the lock in place.
All the aluminum rings will go through 3 rubber rings but never through another aluminum ring.
Step 5
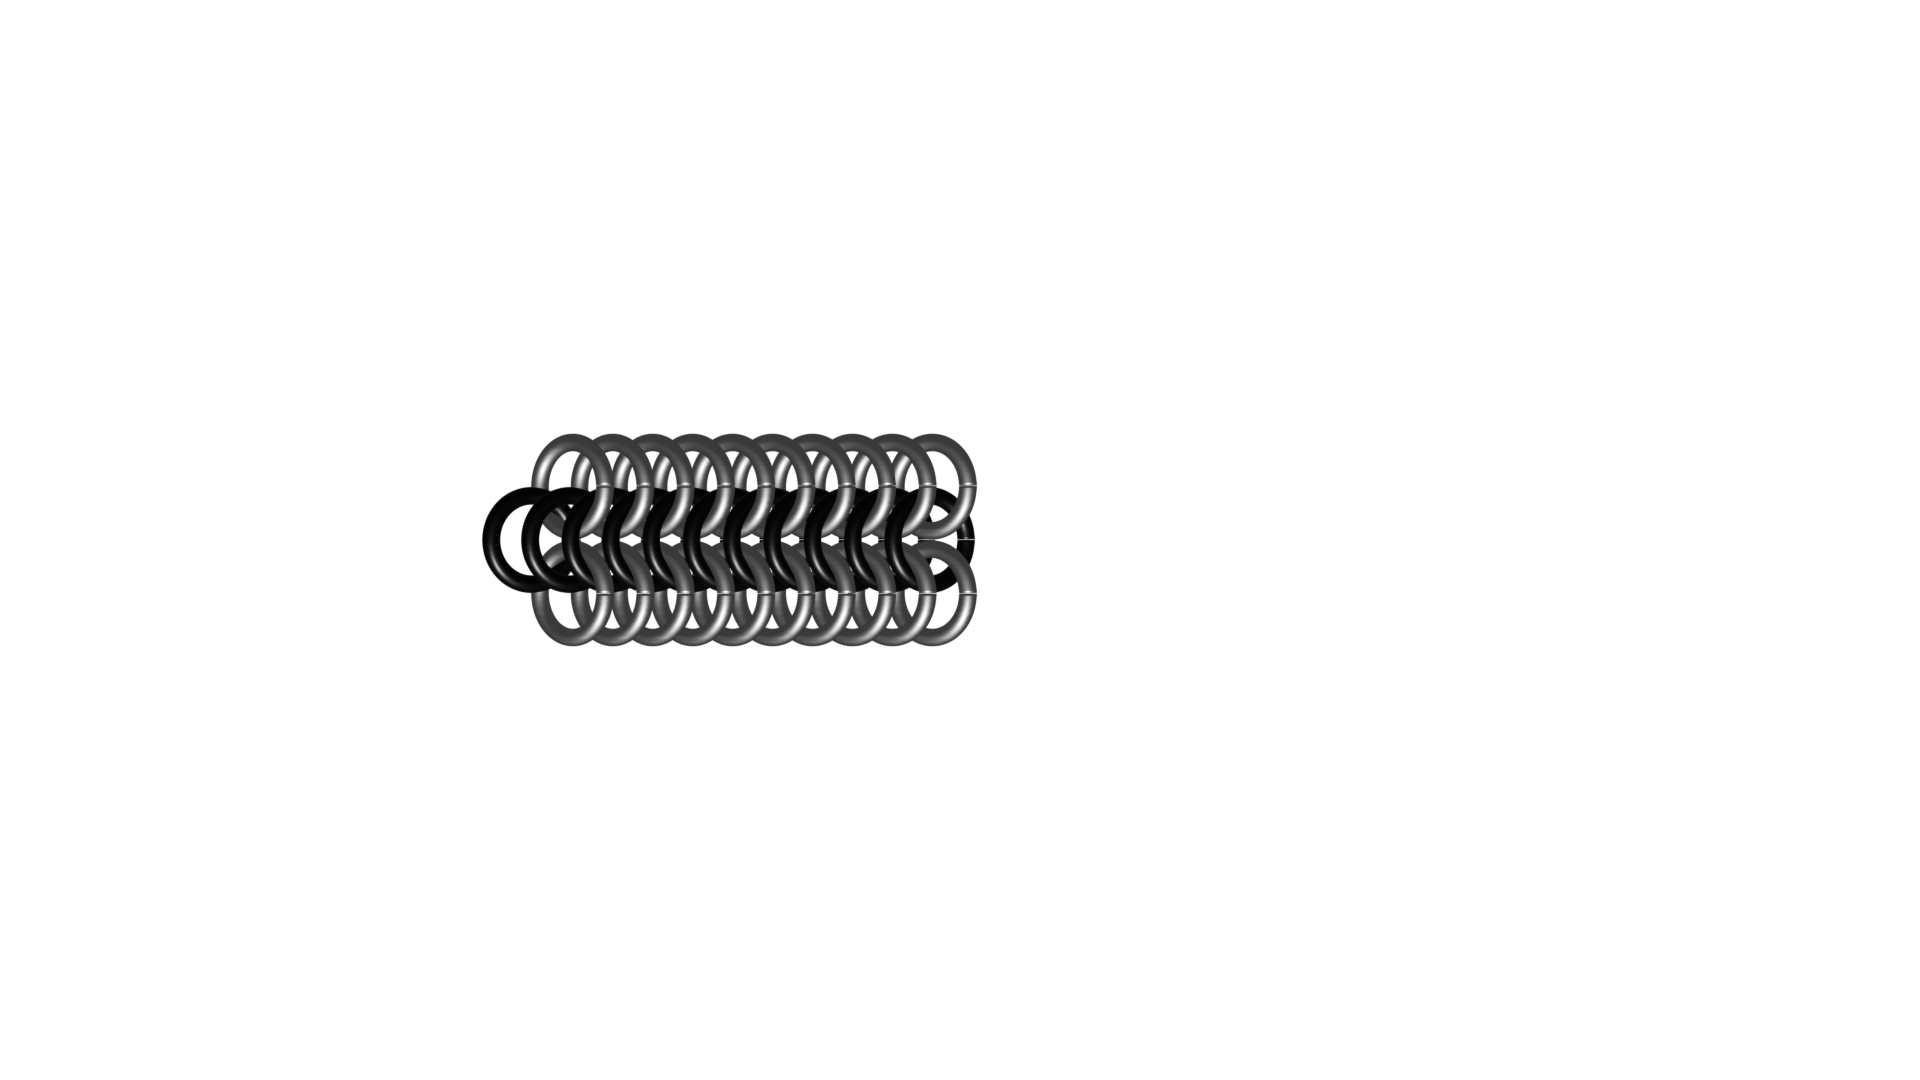
Continue steps 3 and 4 until you have your desired length.
50 rings long will make a bracelet about 7 inches. 60 rings will make a bracelet about 8.5 inches. It will loosen a little in time so is OK to make it a little tight if you like.
It may be easier to keep two piles of aluminum rings, you add a rubber ring with one pile and lock the 3 rubber rings in with the other pile.
Step 6
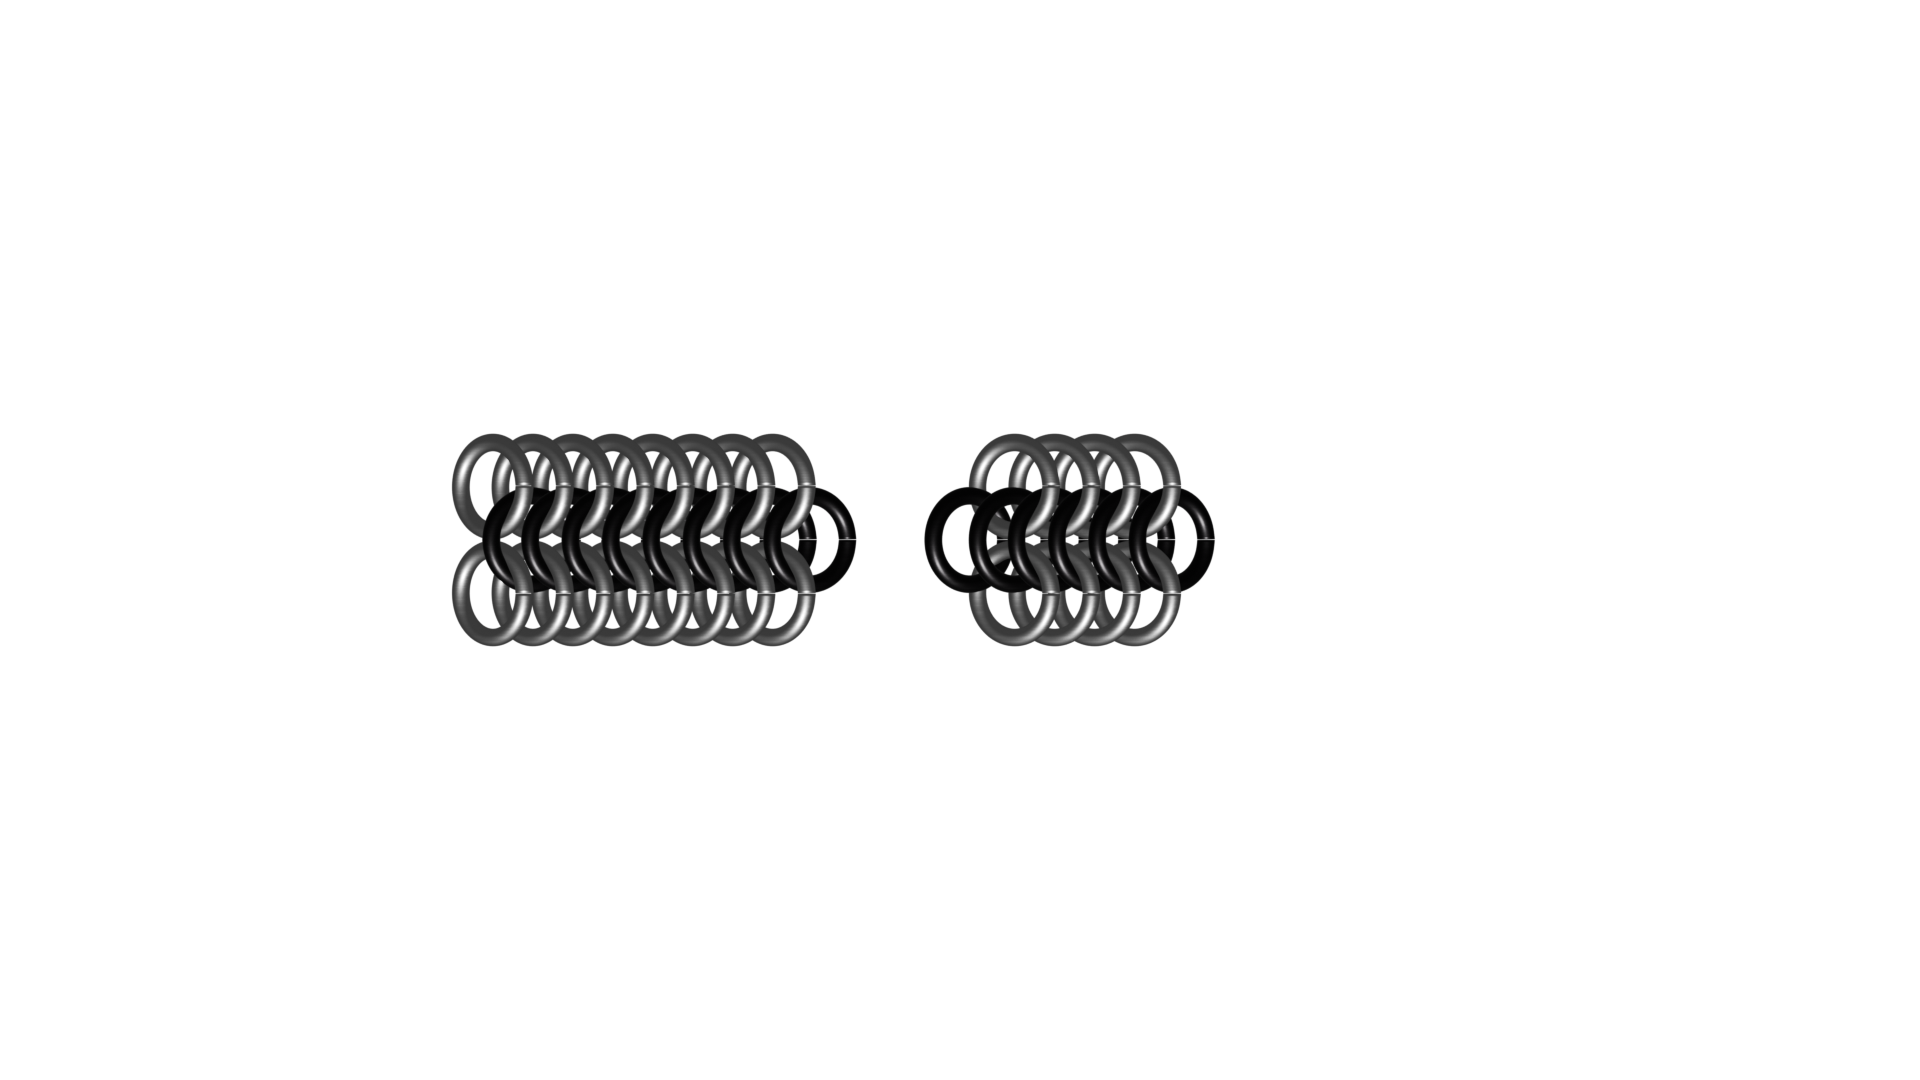
Your two ends will look like this.
Let’s close it up.
Step 7
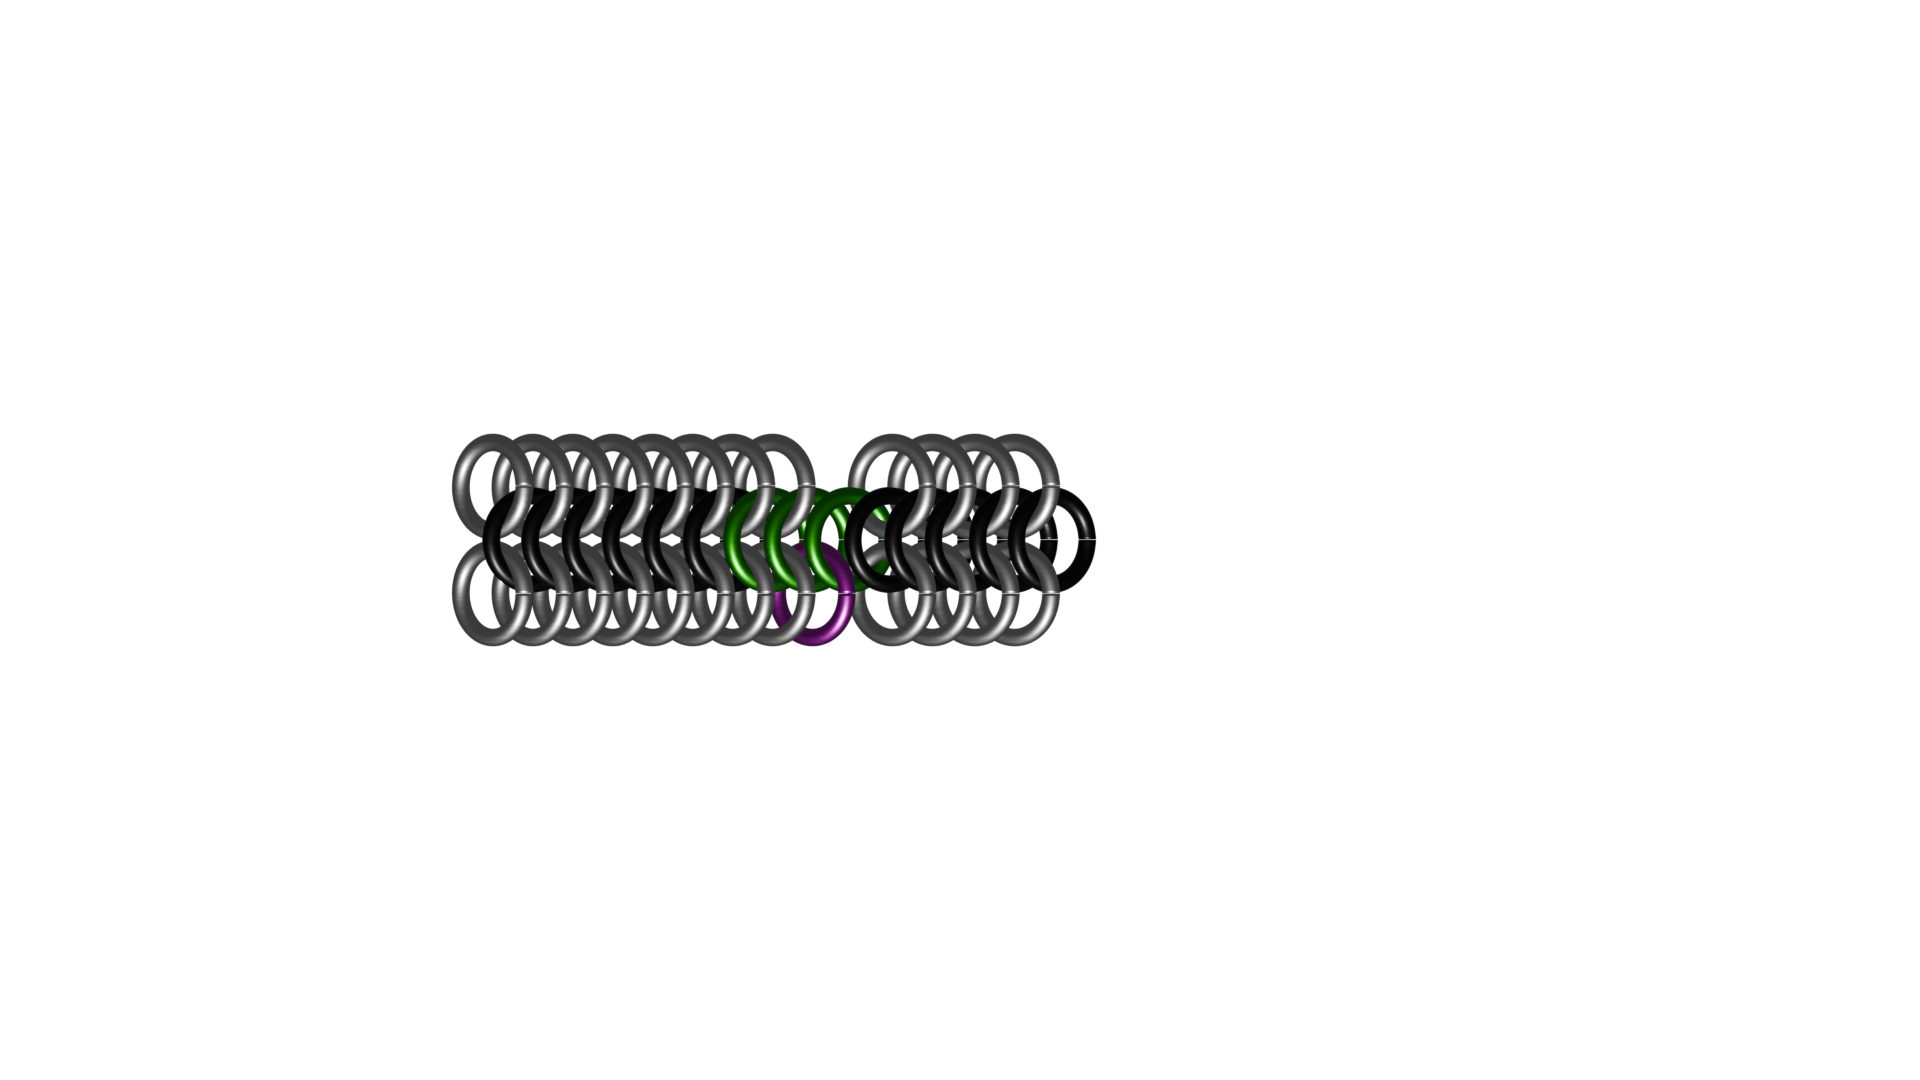
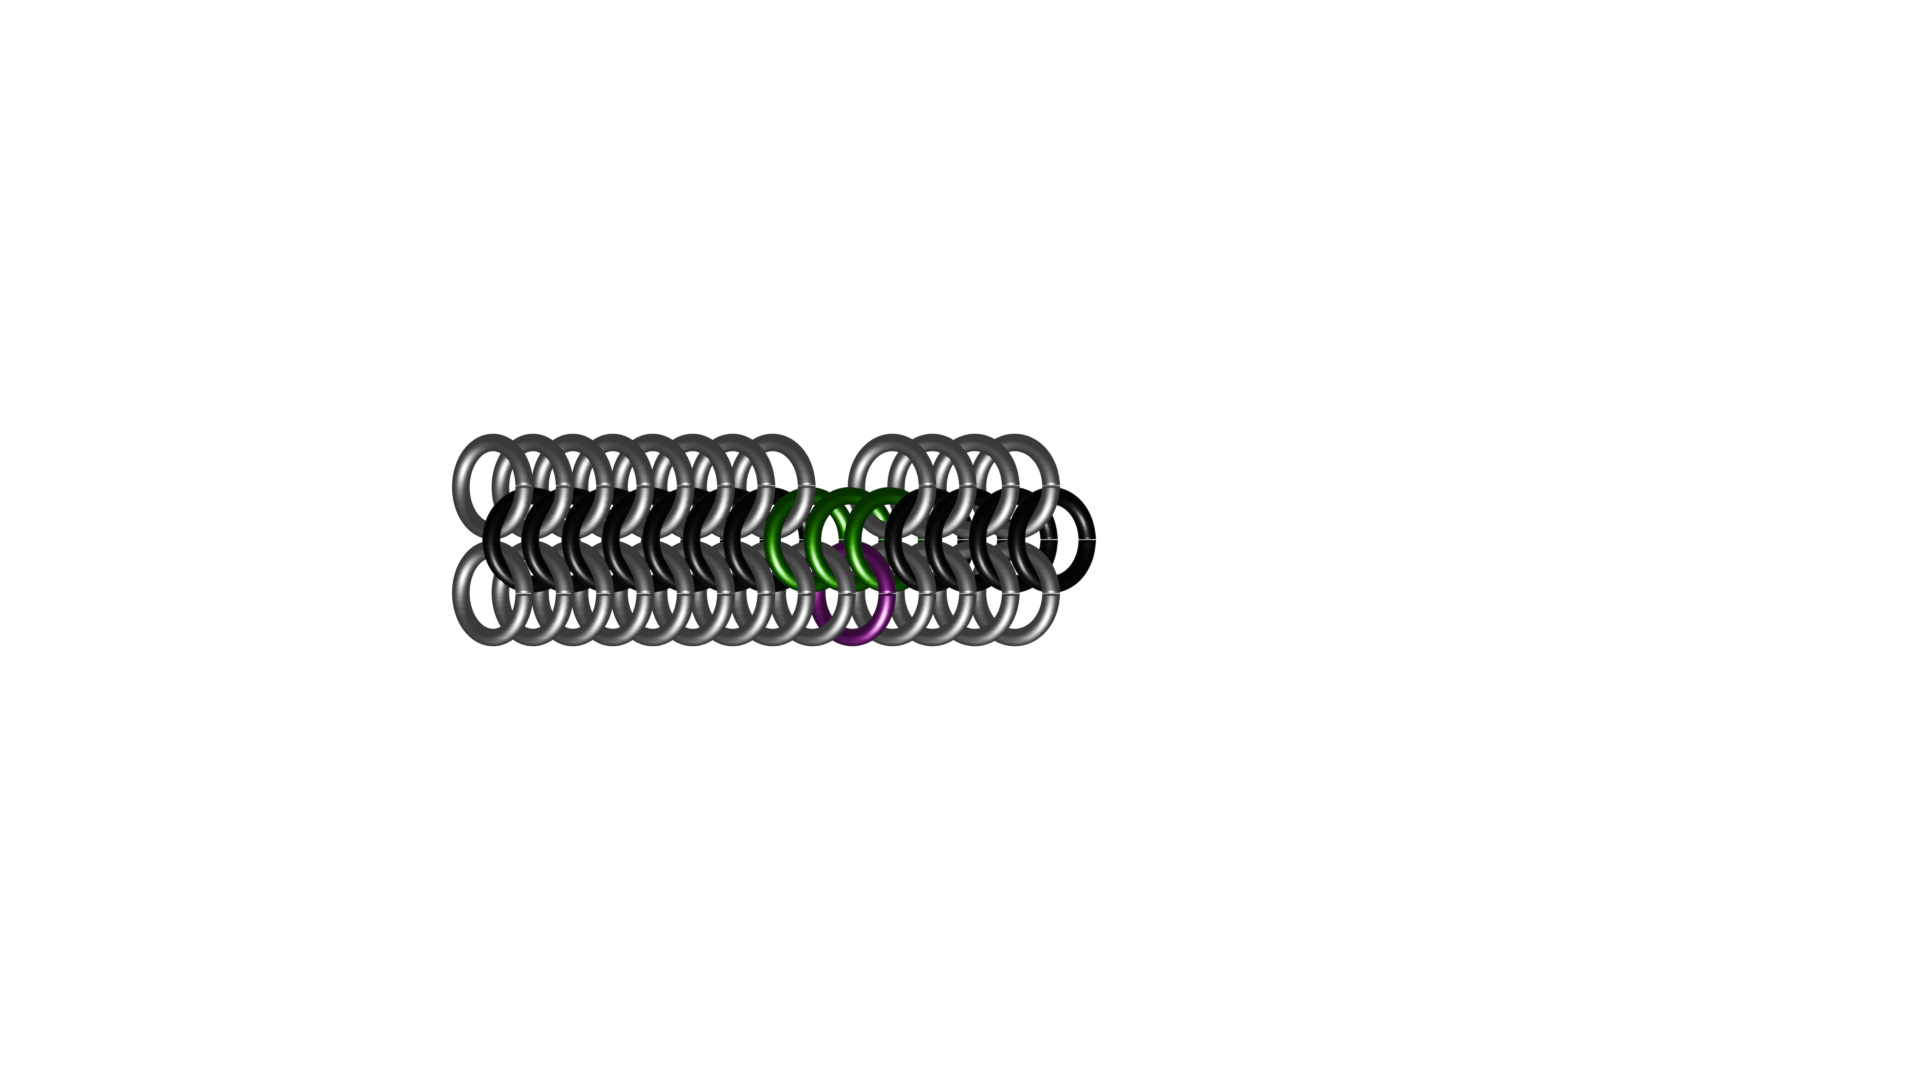
Take an open aluminum ring and pass it through 2 rubber rings from the left side of the bracelet on 1 ring from the right side.
Notice that the rubber ring from the right sits on top of the 2 rings from the left.
Step 8
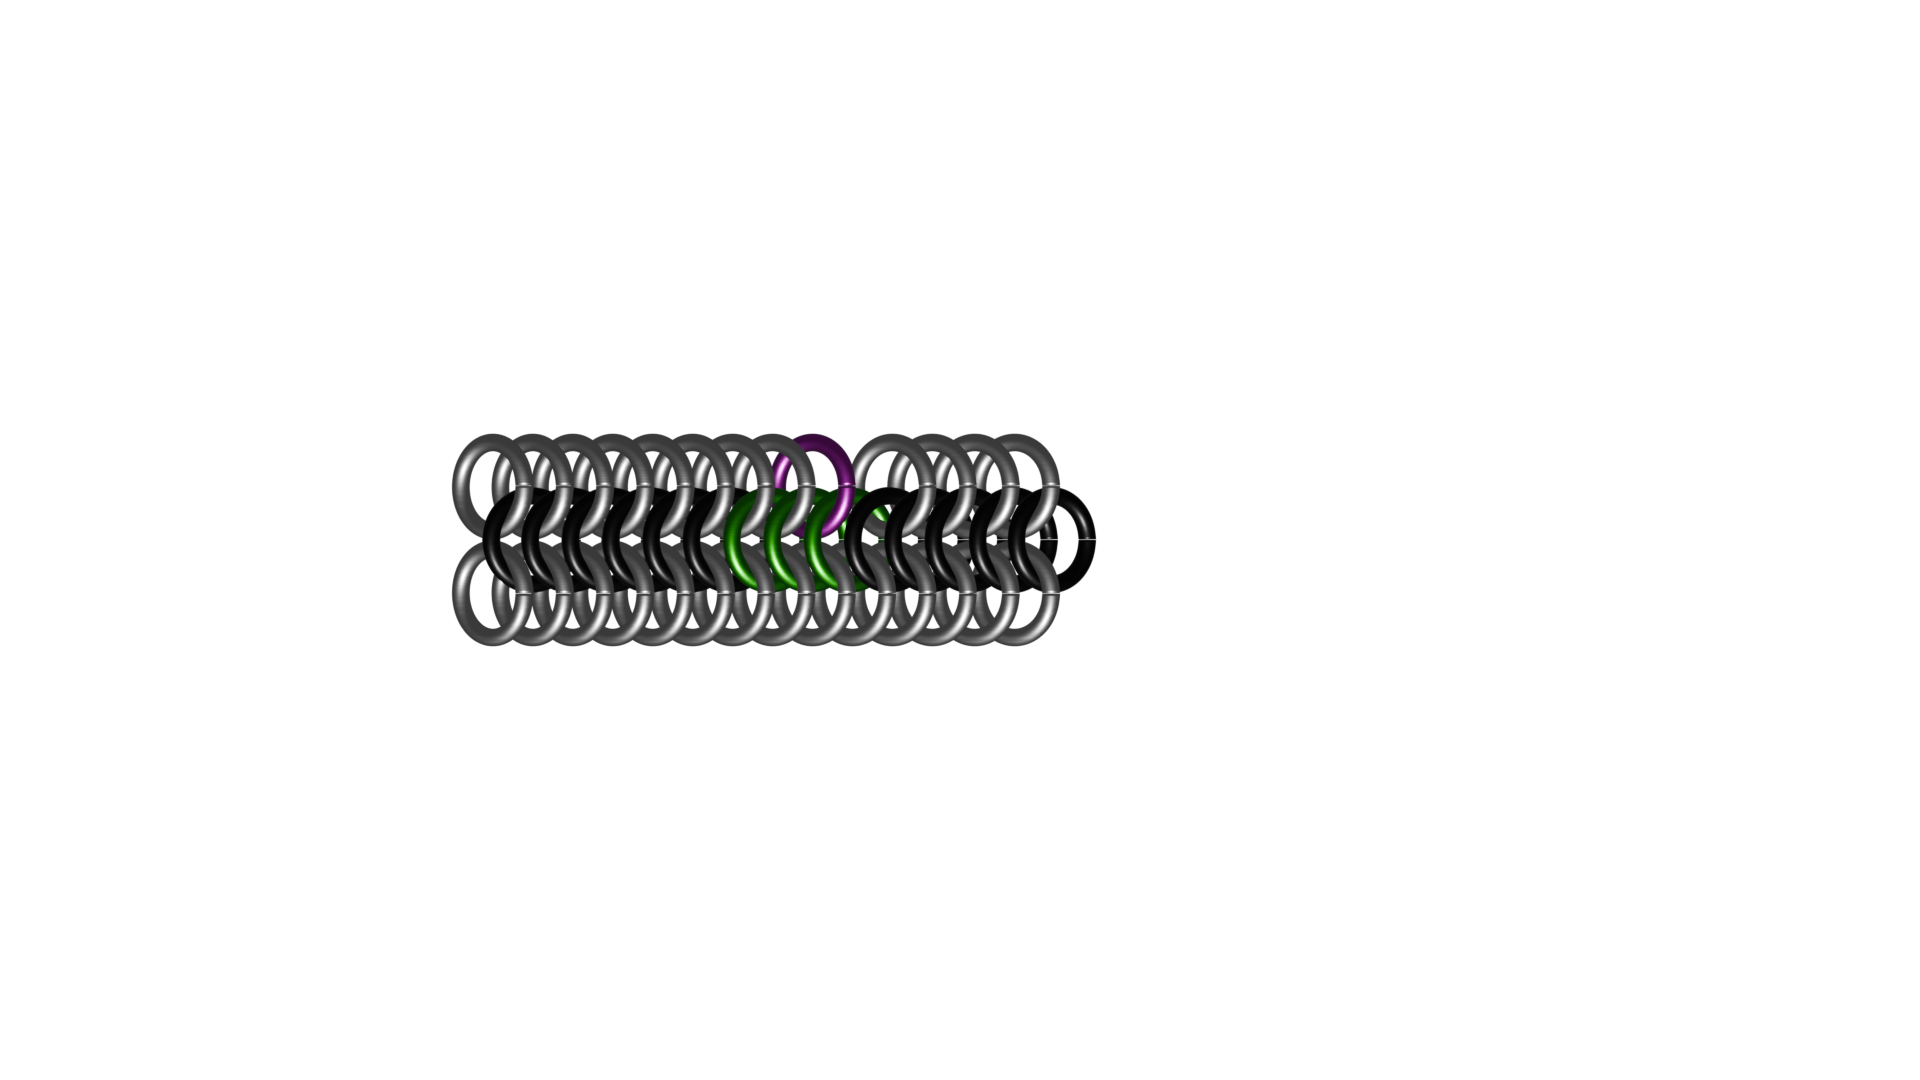
Now add another aluminum ring in the gap. It will be 1 ring from the left and 2 rings from the right side.
This will make a seamless transition.
Step 9
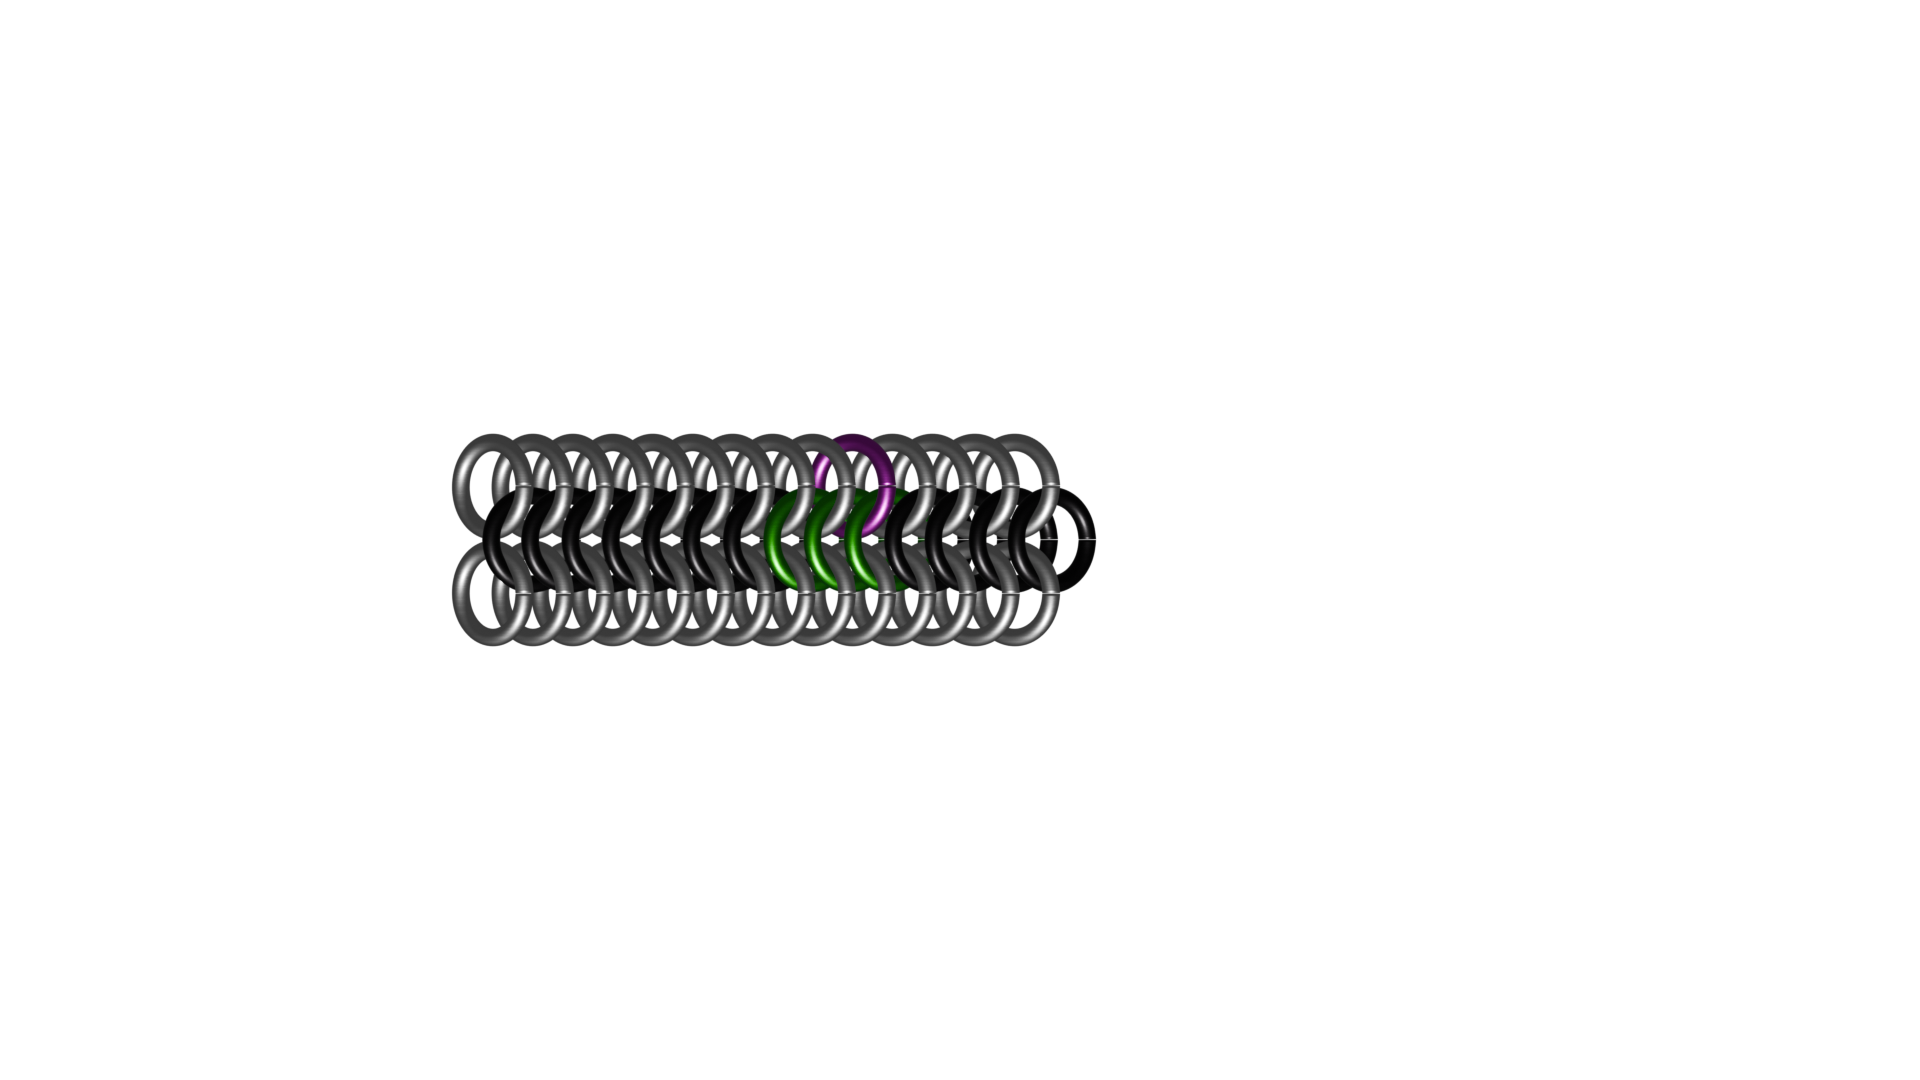
Basically repeating step 7 here.
2 rings from the left and 1 ring from the right.
Just like the rest of the pattern, your aluminum rings will go through 3 rubber rings total but never through another aluminum ring.
Step 10
Put in the final ring.
1 from the left and 2 from the right.
Finale
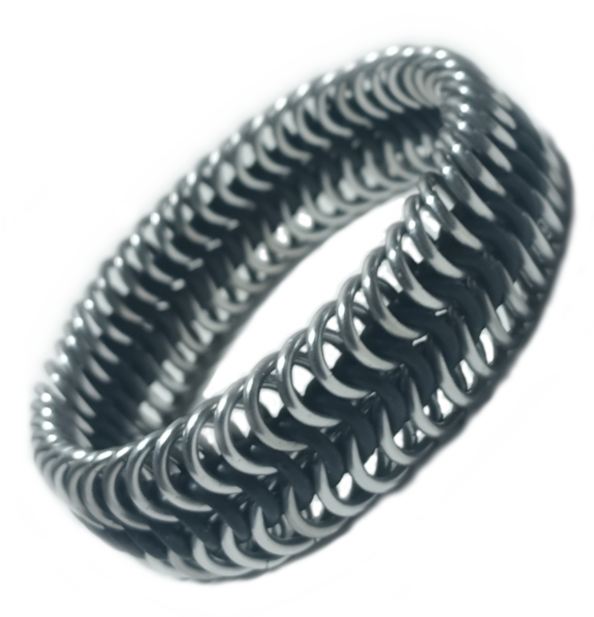
Congratulations!
You have made a European 6-in-1 stretchy bracelet.
It is water safe and easy to clean.